First turquoise cabs

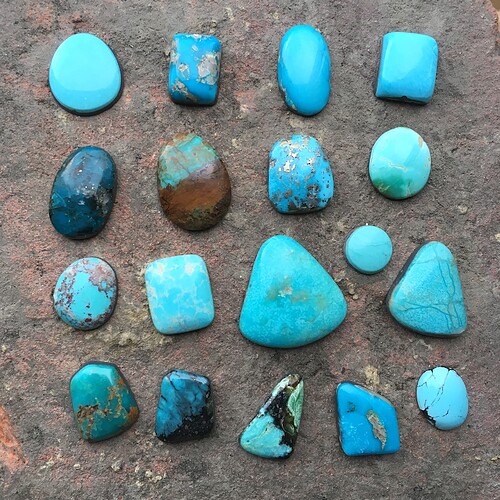
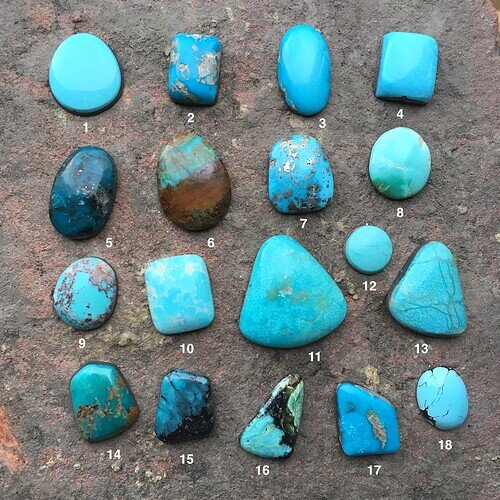
The last couple of weeks i have been finishing my first turquoise cabochons and after photographing and labeling them i thought why not share the nicest ones with the Turquoise People?

I cut them with a dremel tool and a bench sander that i waterproofed for use in the kitchen sink (lol).
The learning curve was steeper then i expected. Biggest problem was that at a certain point i just couldn’t get rid of flat spots on the stones. I was starting to think that i would never get it right.
Luckily after cutting up a yoga mat (for cushioning the wheels) plus buying some high quality sanding paper (that they use in the boating industry) i got rid of those dreaded spots. Figuring out the correct ergonomics was also a thing.

Turquoise info:

1-3 Sleeping Beauty (seems natural)
4 Sleeping Beauty (stabilized)
5 Ithaca Peak (stabilized)*
6 (Kingman) Phoenix Rising (stabilized)
7 Persian (natural)
8 Royston (natural)*
9-13 Royston (natural)
14-16 Unknown US mines (stabilized)*
17 Unknown US mine (my guess is Blue Gem) (seems natural)
18 Unknown (possibly Chinese) (seems natural)

*These were apparently mined in the 60s & 70s and came from the stock of the Bell Trading Post, intended for use in their Corinthian jewelry line.
11 Likes

They are beautiful! Great job!
And kudos for modifying your equipment!
The Dremel tool is my best friend, too.

4 Likes

Beautiful job, @Bluegreen! Well done!

4 Likes

@Bluegreen You did a fantastic job with these turquoise cabs! Kudos to you on the creative problem solving. I have favorites: 7, 8, 10, 14, 15. All of your cabs are really nice.

3 Likes

@Stracci : Thanks! and same here, plus there are so many possibilities with the dremel that i haven’t even looked into yet, like carving and engraving for instance.

1 Like

@mmrogers : Thanks! and also for your guidance that have helped me out a great deal!

2 Likes

Thanks @patina ! those are some of my faves too (:

2 Likes

Great! I know how tough it is to use a Dremel to do cabs. I upgraded to a vintage cab machine. A friend did all restoration work needed.
Still, there are times I use my Dremel.

2 Likes

My favorites are #'s 5 and 15! They’re right up my ally! I think you did a great job on all of them!

2 Likes

Great cabs @Bluegreen . No learning curve for you. One and done.

2 Likes

Thank you & congrats on your vintage restored cab machine @fernwood . Even though i’m content with the dremel i dream about owning a proper cab & sawing machine.

2 Likes

Thanks @AC ! They belong to my faves as well, also mainly due to how surprising they turned out with pyrite suddenly showing up. Especially #5 was an ugly, badly stabilized shard in the beginning, which was why i selected it to practice on, but the more i cut away the more pretty stuff got revealed. A bit like the ugly duckling story haha.

3 Likes

Thanks @StevesTrail , that is mighty kind of you! Btw i’ve been on the lookout for the small Graves Cabmate that you advised, but they seem to be pretty rare in my area. One might show up someday though, who knows

1 Like

#5, 6, 8, 9, 16 for me. We’ll, I’m a Royston fan boy.
Great job, especially if you’re new in this business (as seen from an amateur, me).
#18 could be Neyshabur.

1 Like

Thanks @gt75 ! I’m a Royston fanboy too, and new also.

1 Like

I think you can get notifications on both Craigslist and FB marketplace, and of course eBay. The words Graves and Cabmate should really cut down on worthless notifications. I’ll keep an eye out for you this way. Off course just the word “graves” will likely get you to cemetery plots and your spouse might think you are apartment hunting :rofl:

1 Like

@StevesTrail loool that could mean a world of trouble indeed haha. And thanks so much for offering to help with finding that cabmate. However, i must confess that i’m already starting to lose sleep over what it would costs to get such a (heavy) piece shipped + taxed overseas.

I’m sure there is used equipment in Europe that would do a fine job for you. A 100 -150mm lapidary saw, A couple of 6” (150mm) grinding wheels (coarse and fine) on an arbor with water supply, a good lapidary belt sander with interchangeable belts, and a buffing wheel on an electric motor with Zam polishing compound are all you need to get the job done. Hot glue gun, and dowel rods for dropping stones.

Your technique is clearly very good, and you have the process down. No need to break the bank, or lose sleep. You can pick up the equipment here and there as deals become available.

What equipment are you using now, and what is your process?

1 Like

Oops. I forgot your location.

1 Like

Thanks for your kind advice @mmrogers , i agree that there should be some stuff appearing every now and then. I’ve seen a couple so far, but they were very big (and expensive) machines. I’ll have to work with what i have for the time being, because space and dust management are huge factors. I live in a small appartment and couldn’s fit a 6 wheel grinding unit even if i’d find one at a fleamarket for $25 (in a matter of speaking).

I think i can get comfortable and quick with what i have atm. If the batch that i’m working on right now will go smooth then i’ll be very happy.

I made some photos to show my process (i like to take pics of everything atm):

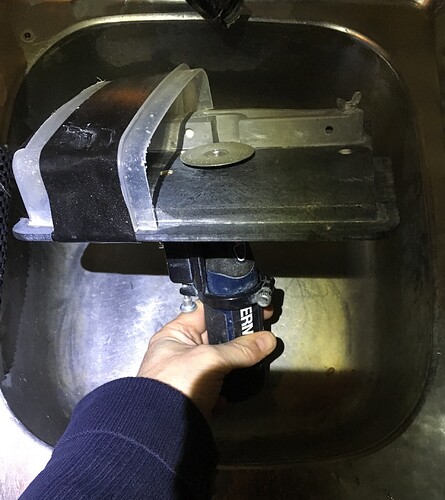
This dremel is for sawing. It’s messy and noisy and far from ideal for big stones, but it works. I more or less waterproofed it but have to very careful with the water usage. The ‘plateau’ came with another dremel, think it’s supposed to be used for measured drilling.

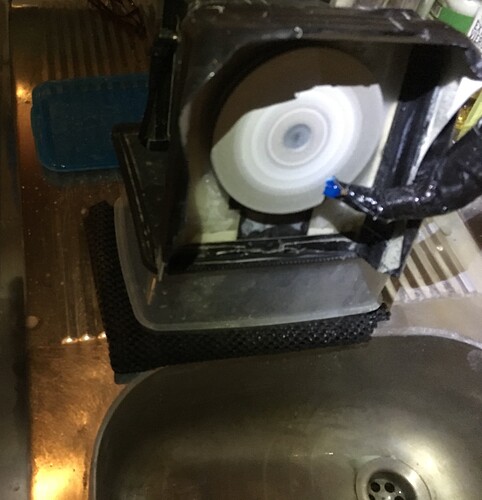
For the rough shaping, i found this bench sander for $38 shipped that i just had to try. It works with velcro sanding discs. I waterproofed it so i can use it with water.

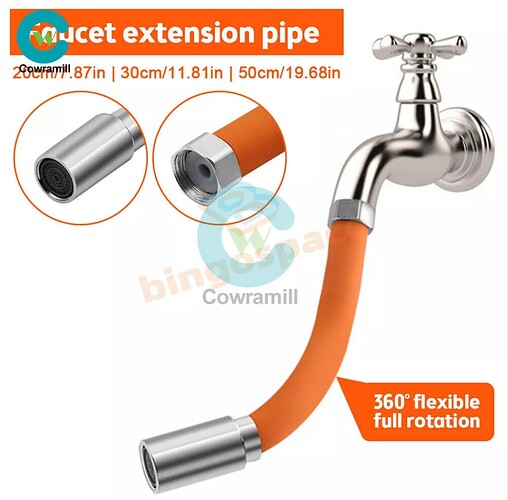
Atm i use a makeshift tap extention, but it’s a bit of a pain to use. I’m eagerly awaiting for this one to arrive:

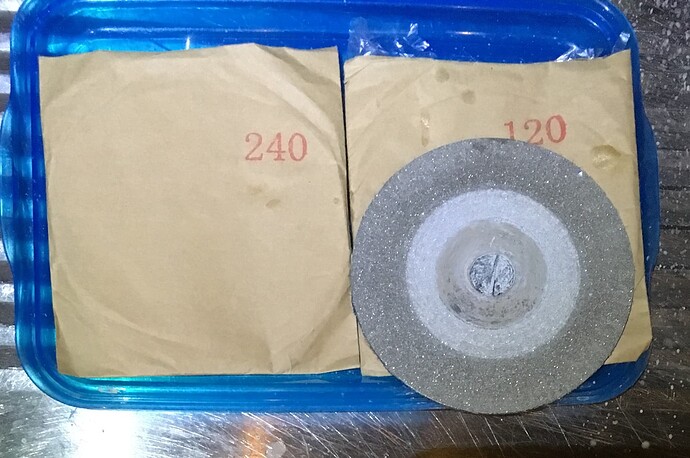
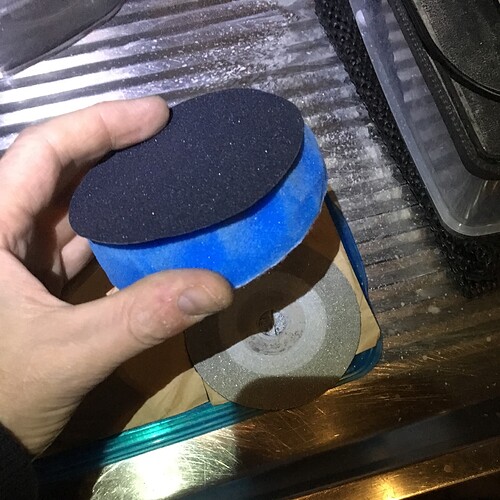
For the ‘hard wheels’ i use these diamond coated discs (with attached velcro):

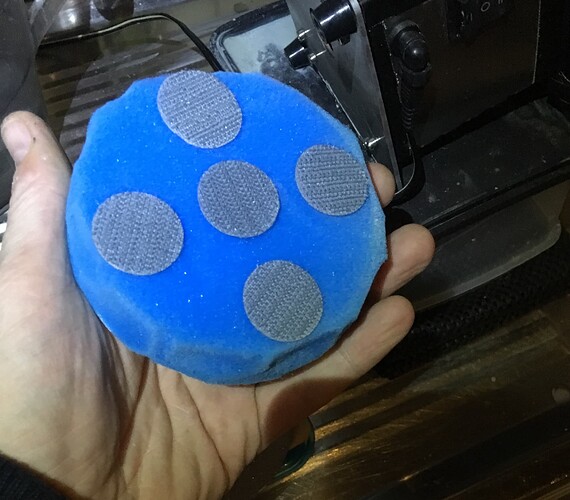
Then for the ‘soft wheels’ i use this as a cushen (from a car polishing kit):

with 280 grit sanding paper attached

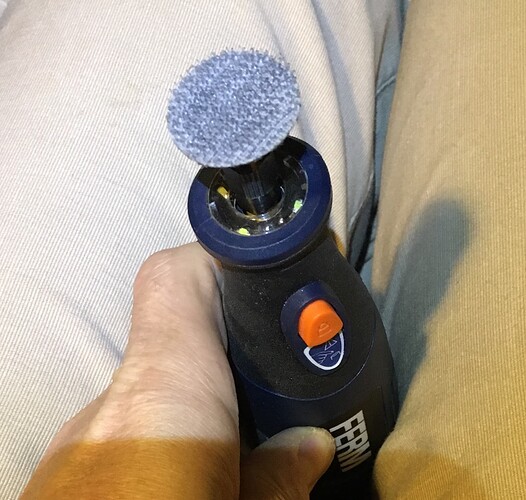
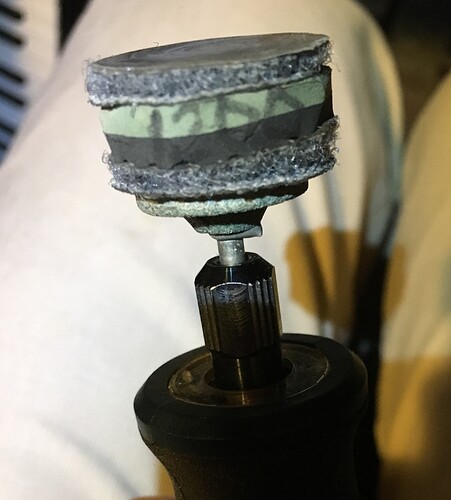
Then i swith to dremel, also with velcro ‘system’ using grits 600, 1200 & 2500:

Cut up yoga mat for cushening to avoid flat spots

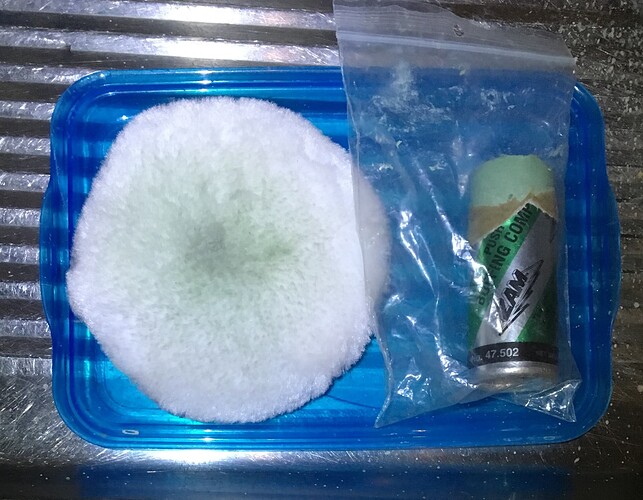
Then polishing with a cloth (also from the car polishing kit) on the bench sander and Zam compound:

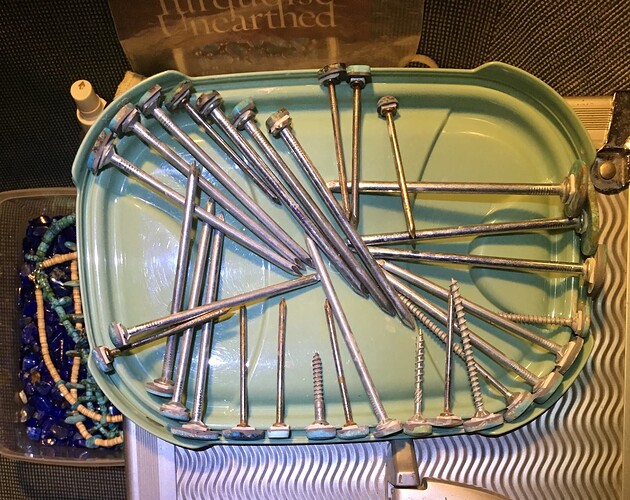
I use JB Weld for backing and nails & double sided tape for dopping

A bit of a long winded post to describe this mega amateur hour method, but it might be good for laughs later on

5 Likes